Flowercrown 101
I adore flowercrowns and I have invested heavily in many by That Madonna Girl, but there was a particular photoshoot I needed to pull off and a certain look that required fresh flowers. So I got to thinking, why should I just put a few random flowers in, why can’t I pull off creating my very own flowercrown?!?! I am afterall a full fledged blogger now, I have a duty to share certain skills with you and pull off amazing shoots and bring you only the best content. So make a flowercrown I shall, and it will be a fresh cut flower crown while I’m at it!
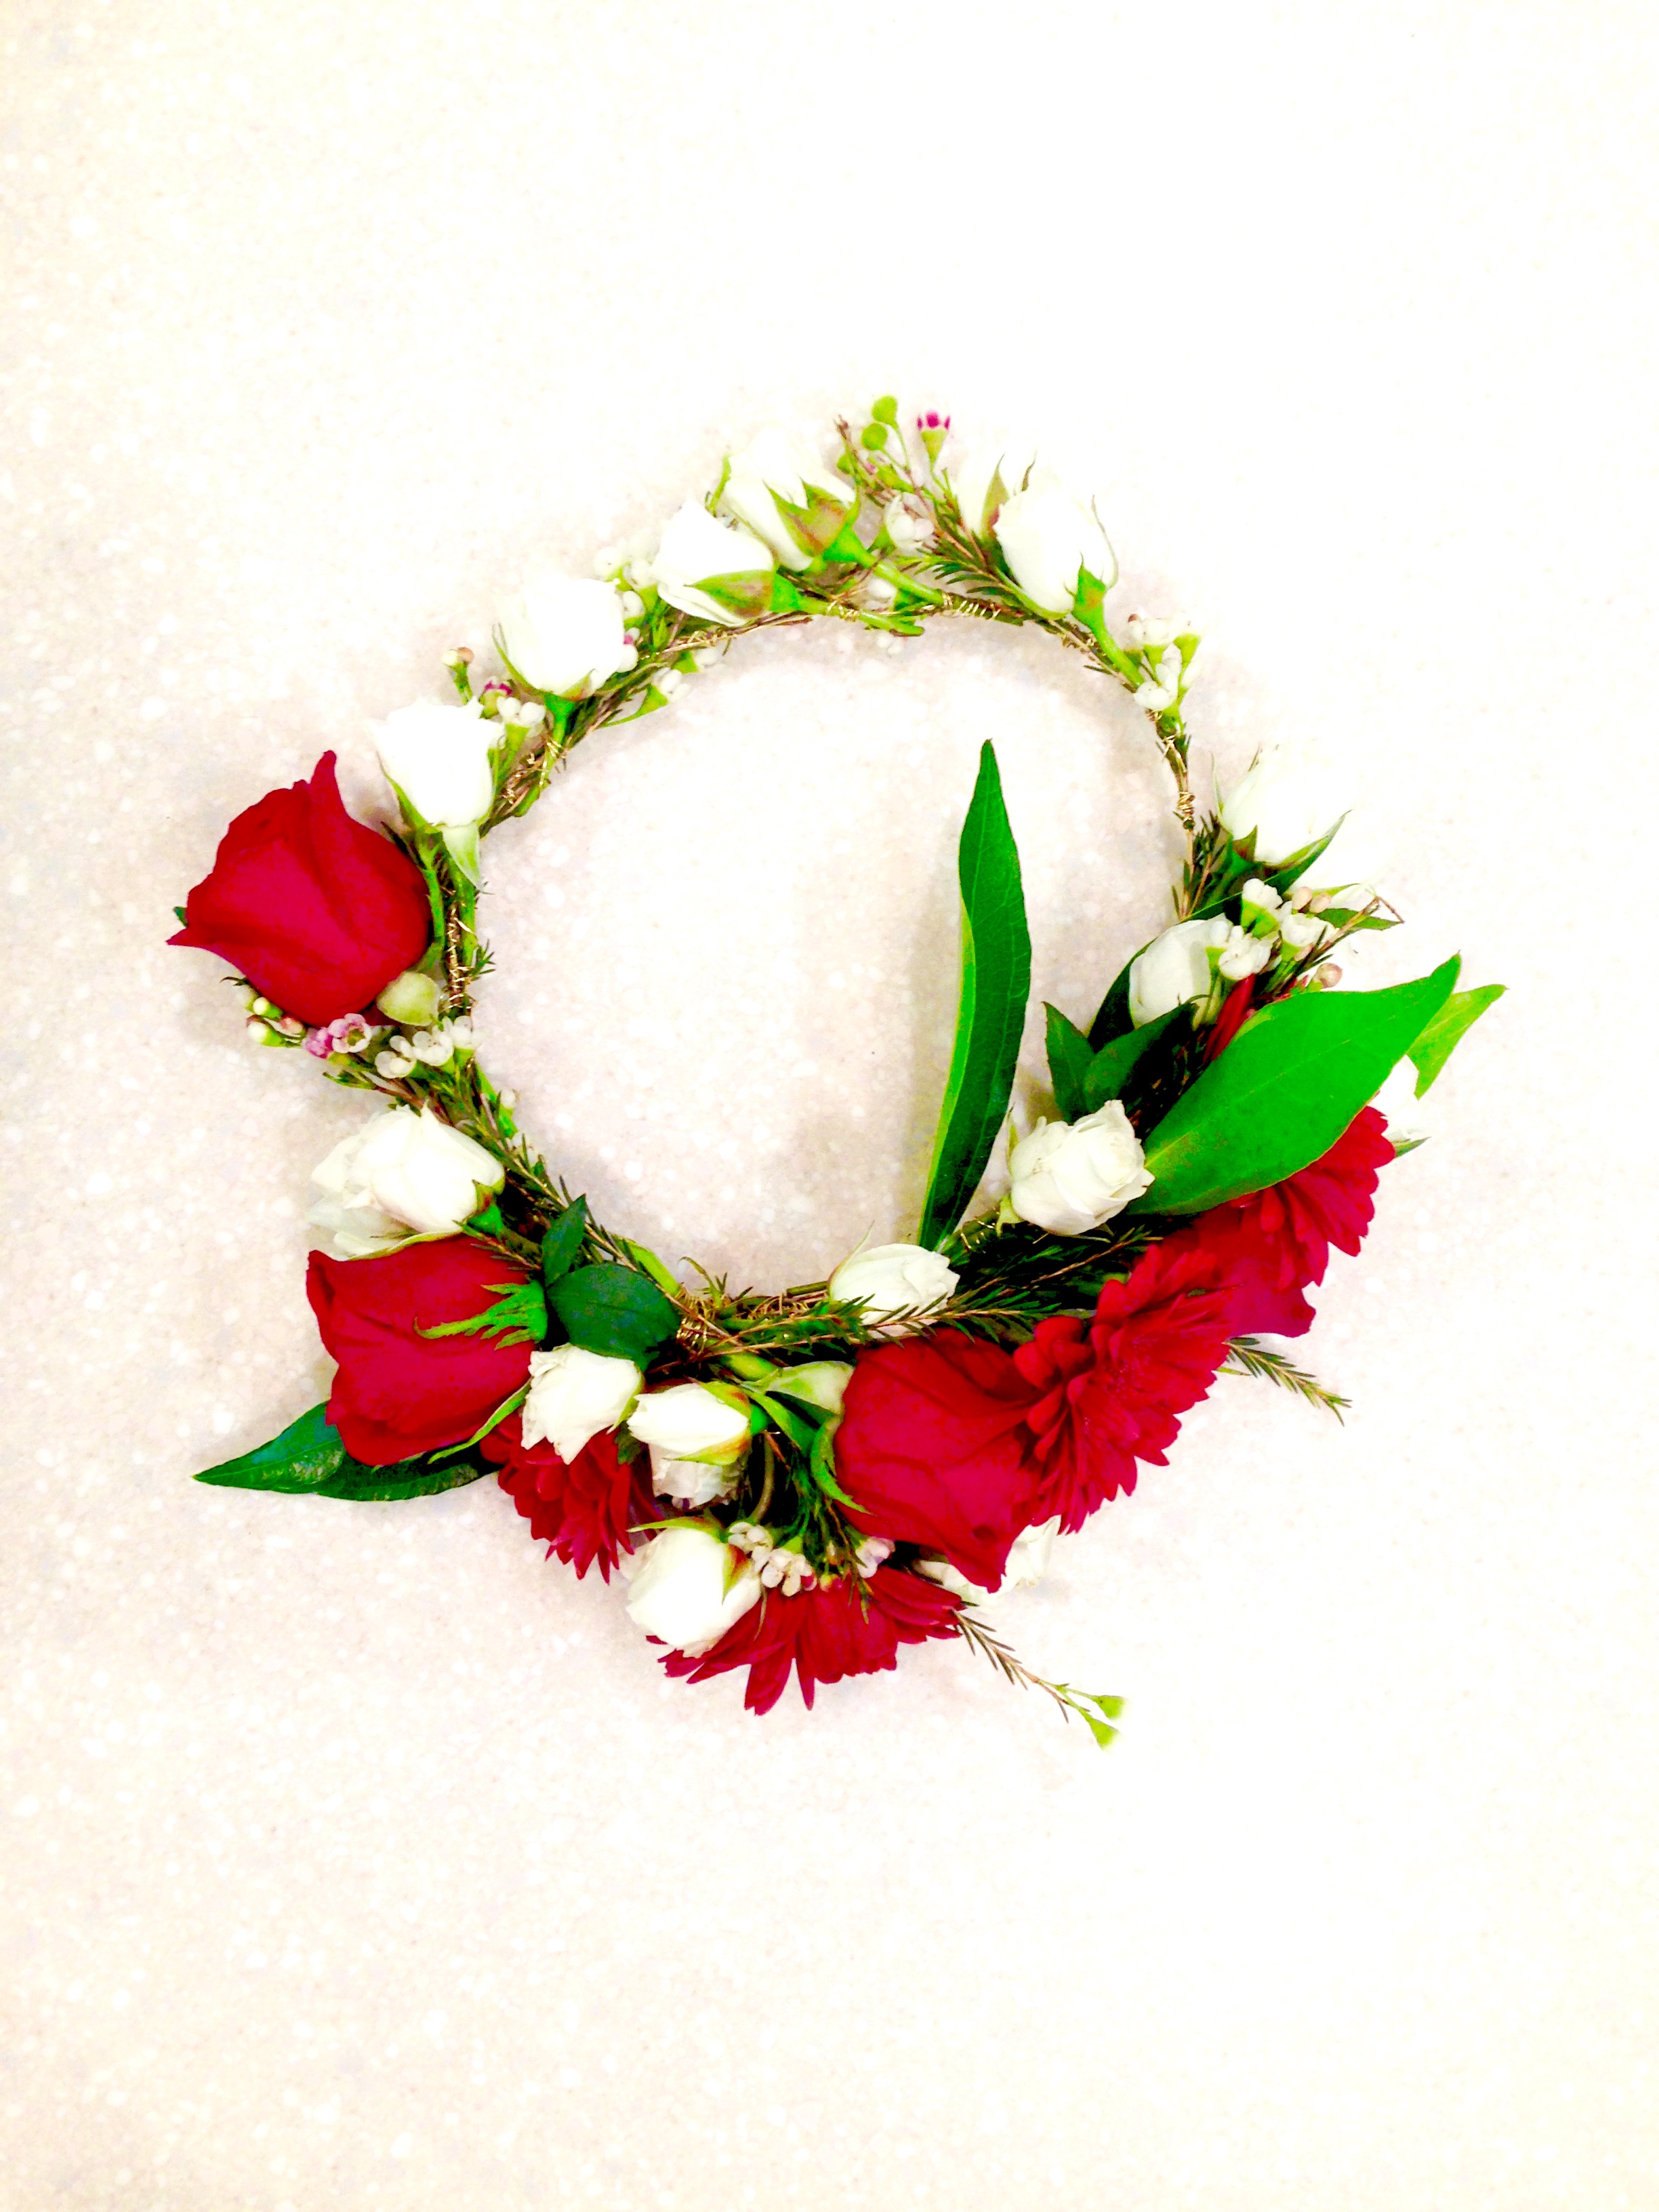
I’ll admit here and now that I only made one once before, with daisies, tied together with their own stems, in my backyard, with five flowers, and it fell apart two seconds after my friend and I took a photo. But hey, I’m not one to back down once I set my mind to something and it really only it took about two runs of the Nasty Gal and Style Caster YouTube videos and I was like, “game on.” And I really must say, I’ve earned bragging rights to this one! It came out super cool and I did a little dance when it was done and ran around in front of my family showing it off. Granted my model today looked 1,000 times better in it, but it was still a pretty incredible even on my head sans make up. So! Without further delay, here is my tutorial for a fresh cut flowercrown.
Step 1) Organize your supplies:
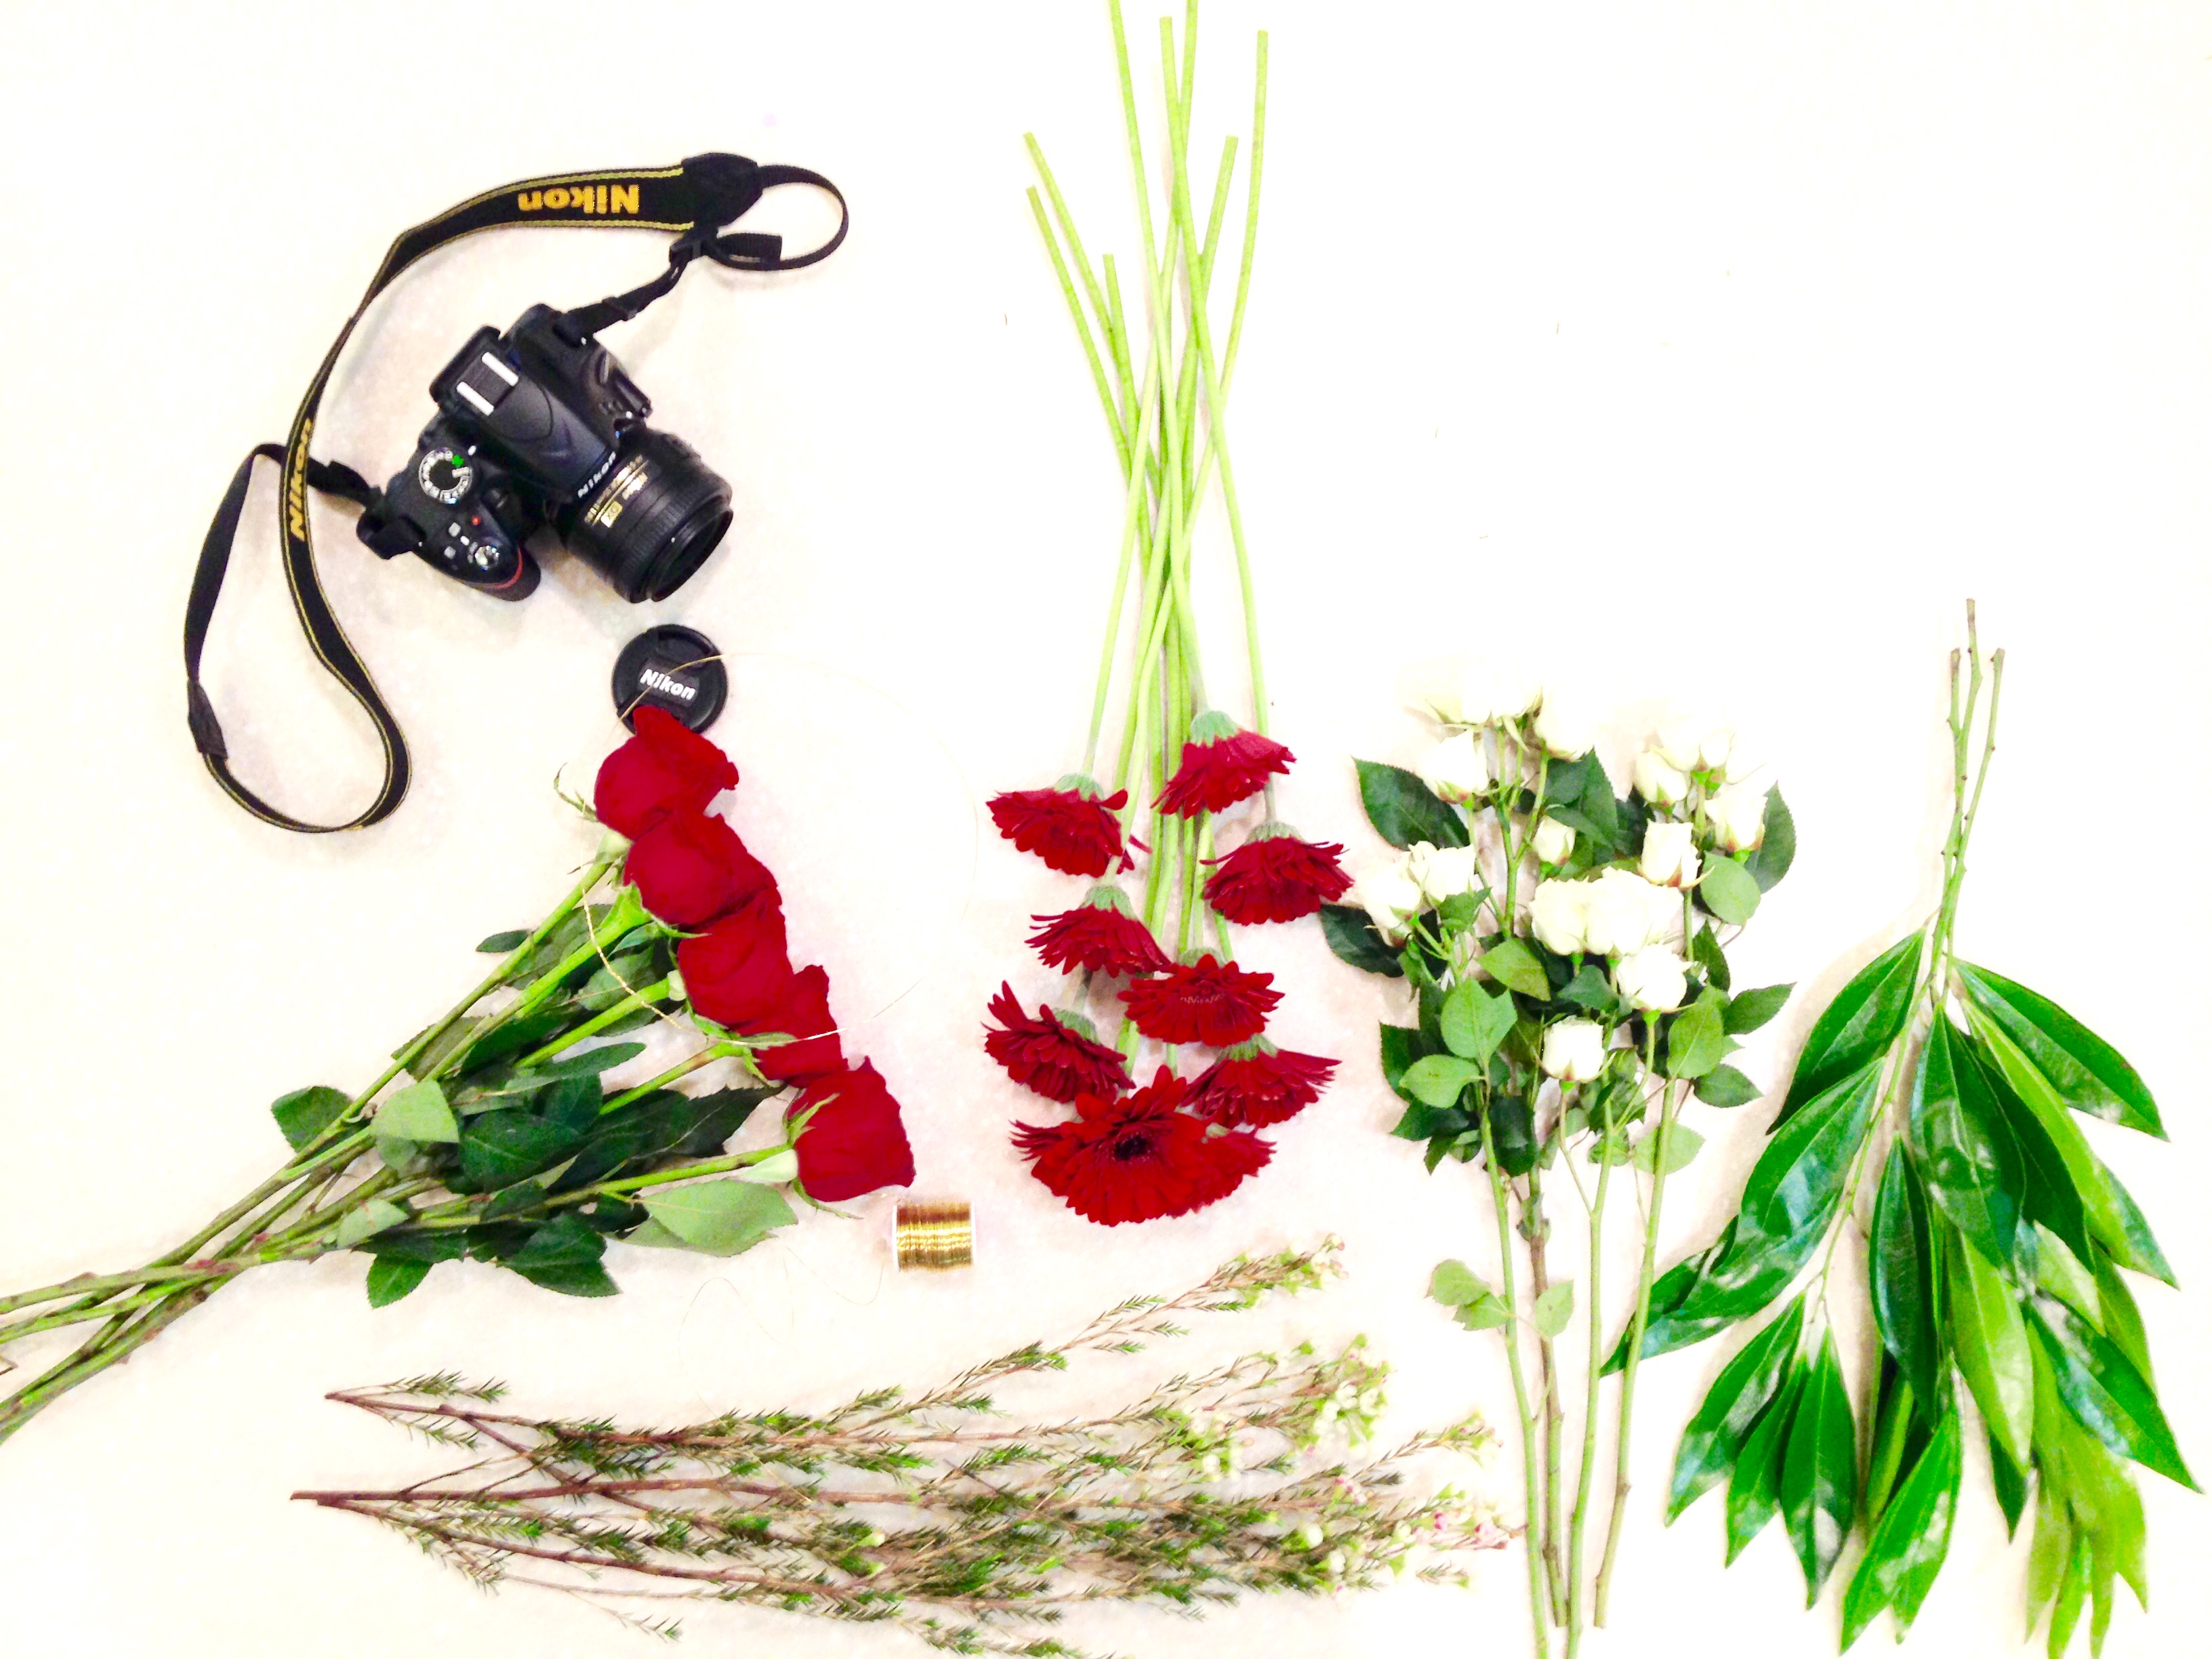
For starters, you will want to gather your supplies. In my case, this included:
- 24 Gauge gold wire
- Clippers
- Mini Gerbera Daisies
- Roses
- Spray Roses
- Waxflowers
- Greens
I liked working with these flowers because they varied in size, giving some structure as well as depth to the crown. You can opt for all smaller flowers or all larger ones depending on the look you are going for. I planned on creating a half crown so I wanted a bit of everything going on.
Step 2) Cutting your flowers:
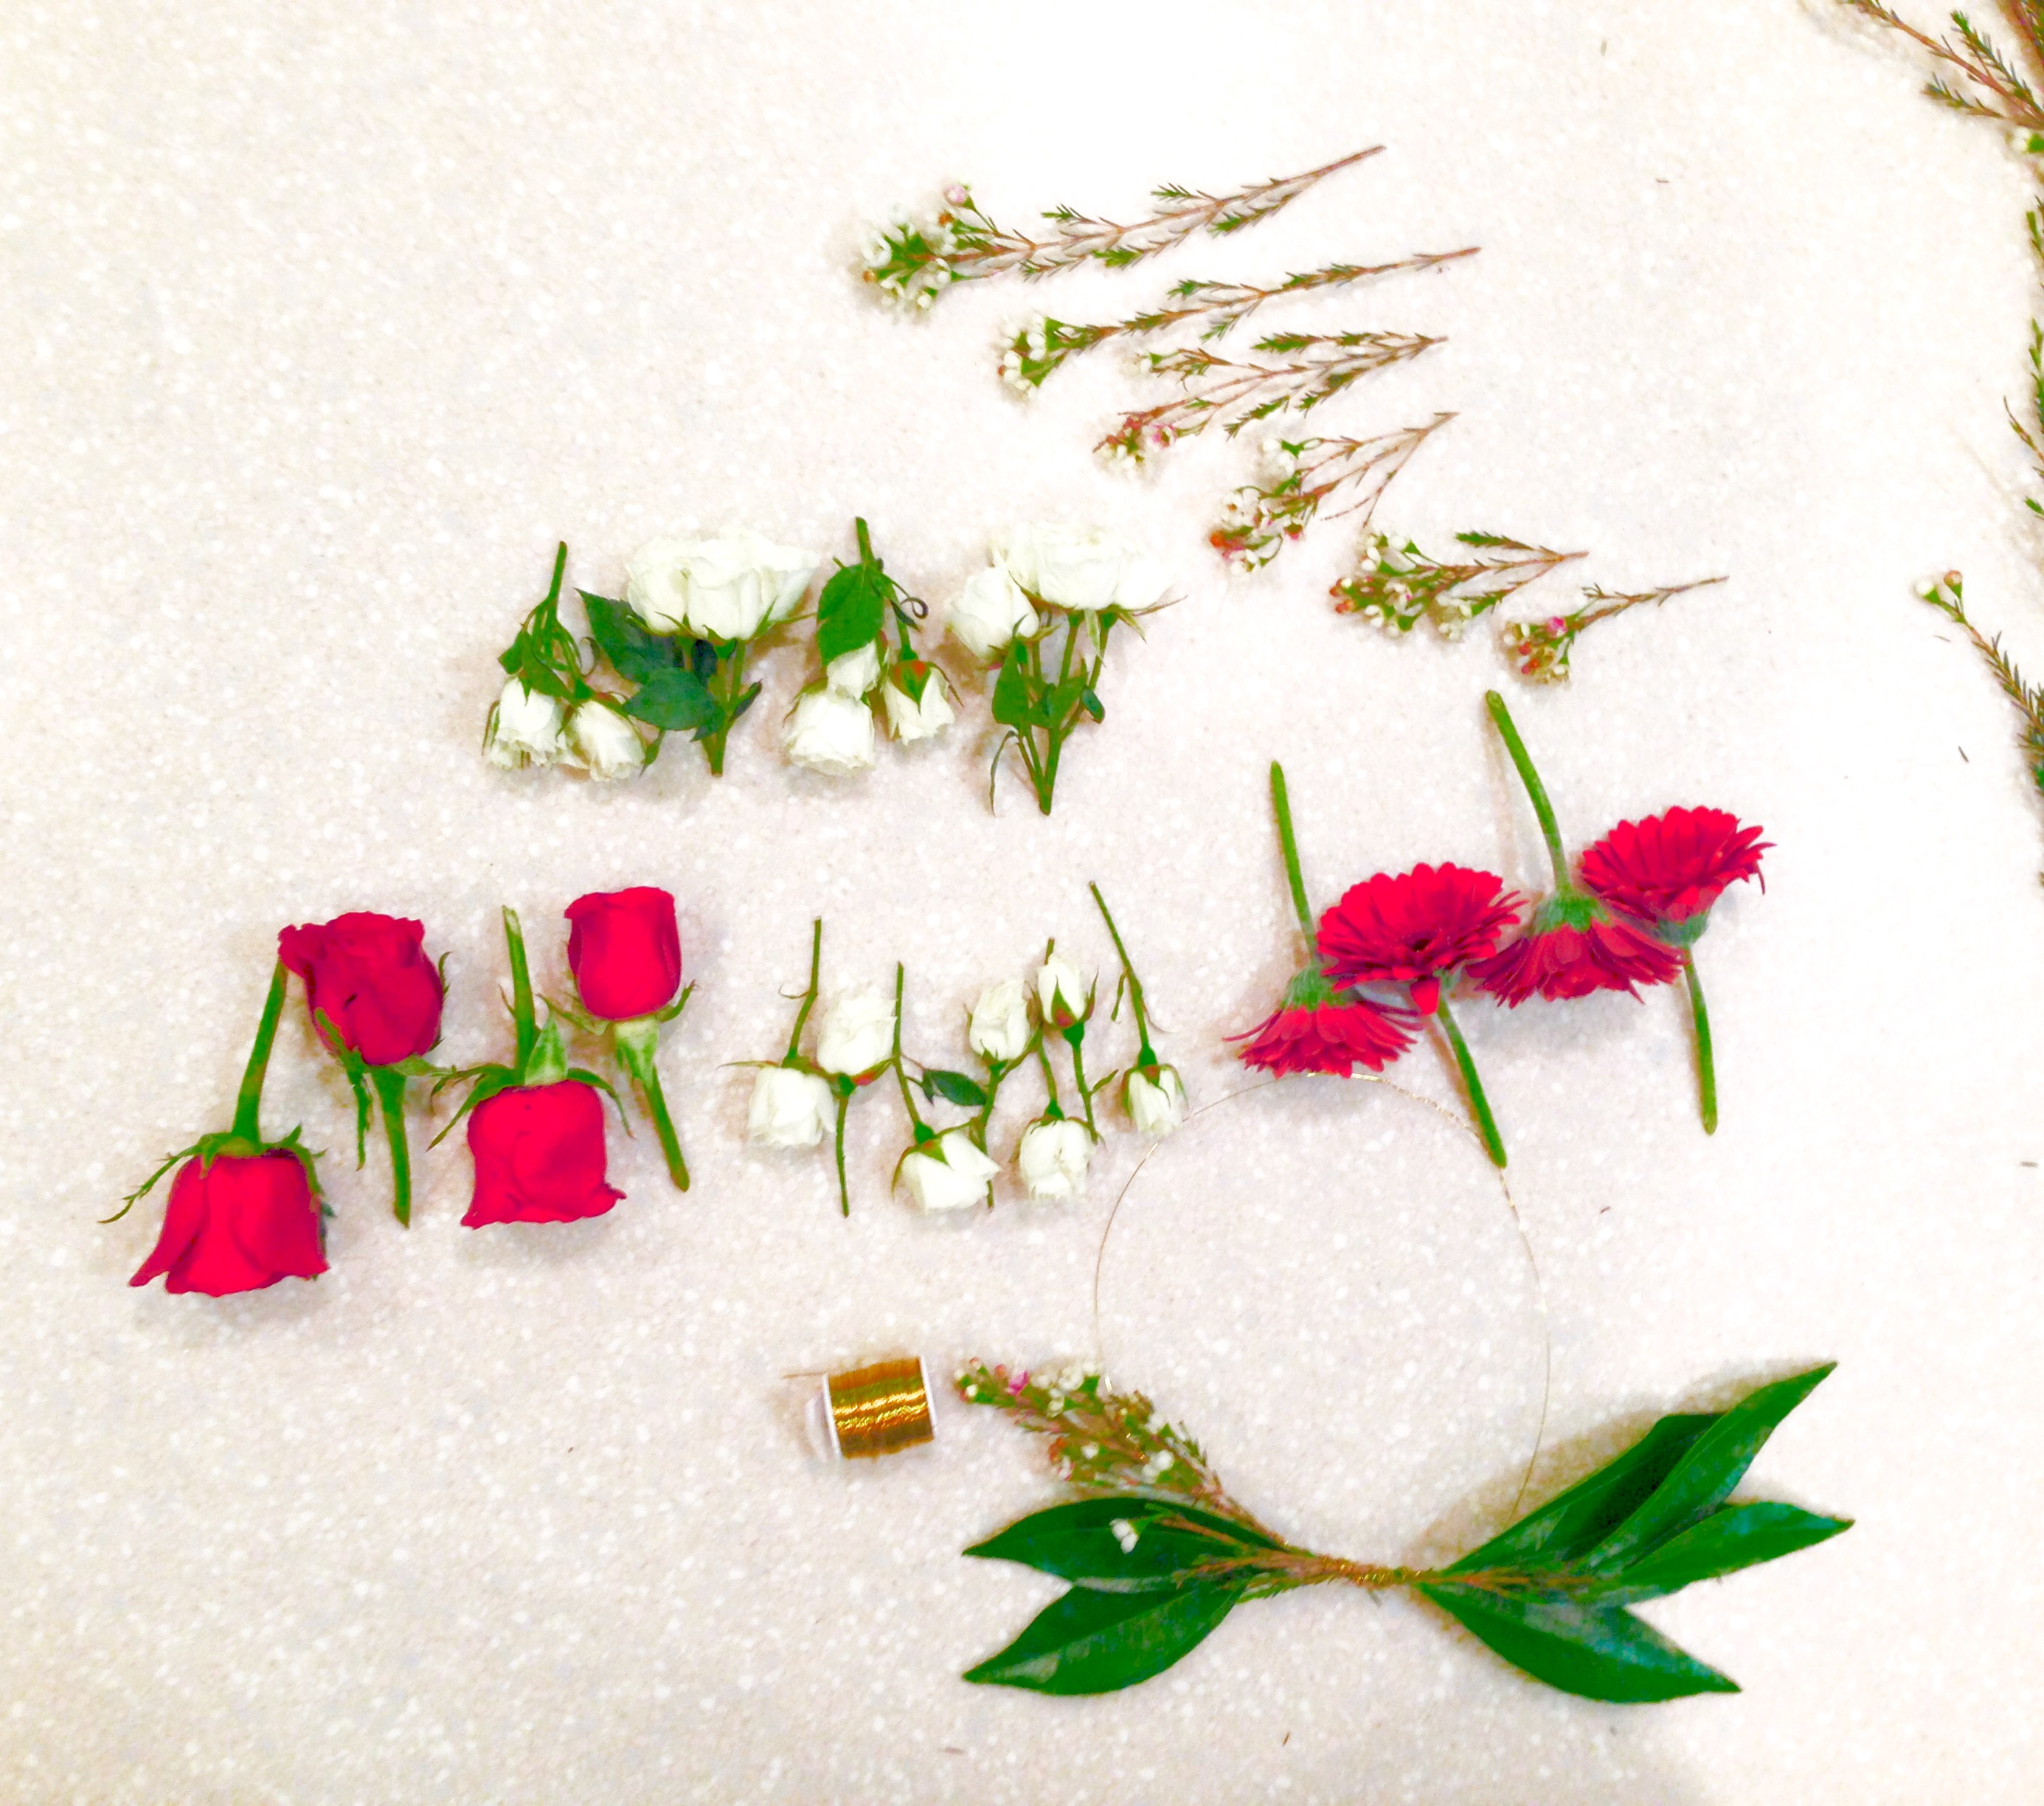
You will want to keep your flowers at a managable size. Depending on which tutorial you watch and/or read, you will be told between 2-4 inches. Since I wanted to be able to bend the flowers to the shape of the wire more readily, I opted for a little closer to 2.5-3 inches with each big flower and I kept the greens longer since they were more malleable.
However, I intentionally didn’t cut all of my flowers right off the bat. I wanted to test out how the flowers worked with the wire and how much wire I would end up using. I recommend doing that as well because you really want to make sure you keep them at a length that is easy to work with as well as one where the flowers stay on the crown even when you pick the crown up.
Step 3) Create your halo/crown:
I used a 24 gauge gold wire, but you can select any size that you like. I happened to get lucky and found some at home and I know that my mom had purchased it at Jo Ann Fabrics, so you can basically find it at any craft store. I opened up a long strand and wrapped it around my head for measuring. I wanted it to hang low in the back and so I made sure to wrap it that way on my head. I then added a couple more inches to the wire so that I could coil one end around the loop to secure the crown.
Step 4) Start your base:
You want to start with a solid base of greens around the wire. I opted for the waxflower as mine and the extra greens that came with my roses. It felt like a good base for the back side of the crown because… here is my confession, though many half flowercrowns still keep the heavy flowers up front I had no intention of doing that. I wanted a romantic look and I wanted that part to reside on the back of the crown with my model’s cascading curls tucked beneath. In the end that exactly what happened and it is breathtaking, but that’s another post for another time. Right now we are still in construction of a flowercrown mode.
So in order to add the greens to your crown, you will want to lay the greens up against the wire and then cut a few small sections of wire to wrap the greens tight against the crown. I did this all the way around the crown with my waxflowers and then followed this up with the bigger green leaves in the back. As you begin to wrap the wire, you will find what feels more secure to you. Use your own discretion here, I used A LOT of wire the further along I got with the crown, but not that much early on.
Step 5) Adding your main flowers:
When it comes to this part, I followed the advice from Nasty Gal’s tutorial and created mini bunches and wrapped them first before trying to add them directly onto the crown. This helps make the flowers sit more securly as well as helps to keep you from going back and forth so often between the flowers and the wire. I kept my bunches concentrated in the back of the crown. Once I finished with a look that felt complete enough to me I started filling in the empty spaces.
Along the greens were patches that needed a little bit more. Even though I call this a half flowercrown, I still wanted it to be covered from the front to the back. I just wanted a much more delicate look in the front with a dramatic yet romatic look in the back. To get this look I weaved the spray roses throughout the rest of the crown securing them with the wire.
And that is your flowercrown tutorial. It’s honestly not that complicated. Mine did take a while, (1 hour) but it was my first time and I took on an ambitious flowercrown with a lot of different flowers. And for the record, I can’t wait to follow this post up with the photoshoot we did with our model. Sneak over to our FaceBook page to see a sneakpeak of our photoshoot! TIll then go ahead and try this out and let me know how it goes!
Xo
Maliha


[…] summer look by BCBG. And you’ve already seen the DIY for our flowercrown in a previous post, but for those who haven’t, take a look! We would like to express a special thank you to the […]